How to install PEX Tubing: Everything You Need to Know

PEX tubing has revolutionized the world of plumbing with its flexibility, durability, and ease of installation. Whether you’re upgrading your home’s water supply system or tackling a new plumbing project, understanding how to install PEX tubing is a valuable skill that can save both time and money. Unlike traditional materials like copper or PVC, PEX offers greater resistance to freezing and corrosion, making it a preferred choice for homeowners and professionals alike.
This guide walks you through the essentials of installing PEX tubing step by step. From understanding the tools you’ll need to mastering connection techniques, we’ll cover everything to help you confidently complete your project. Whether you’re a DIY enthusiast or new to plumbing, this article is designed to make the process straightforward and stress-free. Let’s dive in and get started!
What is PEX Tubing?
PEX tubing, short for cross-linked polyethylene tubing, is a modern alternative to traditional plumbing materials like copper and PVC. Known for its flexibility, durability, and affordability, PEX has become a go-to choice for water supply systems in residential and commercial buildings. Its cross-linked molecular structure gives it the strength to handle high water pressure and extreme temperatures, making it suitable for both hot and cold water lines.
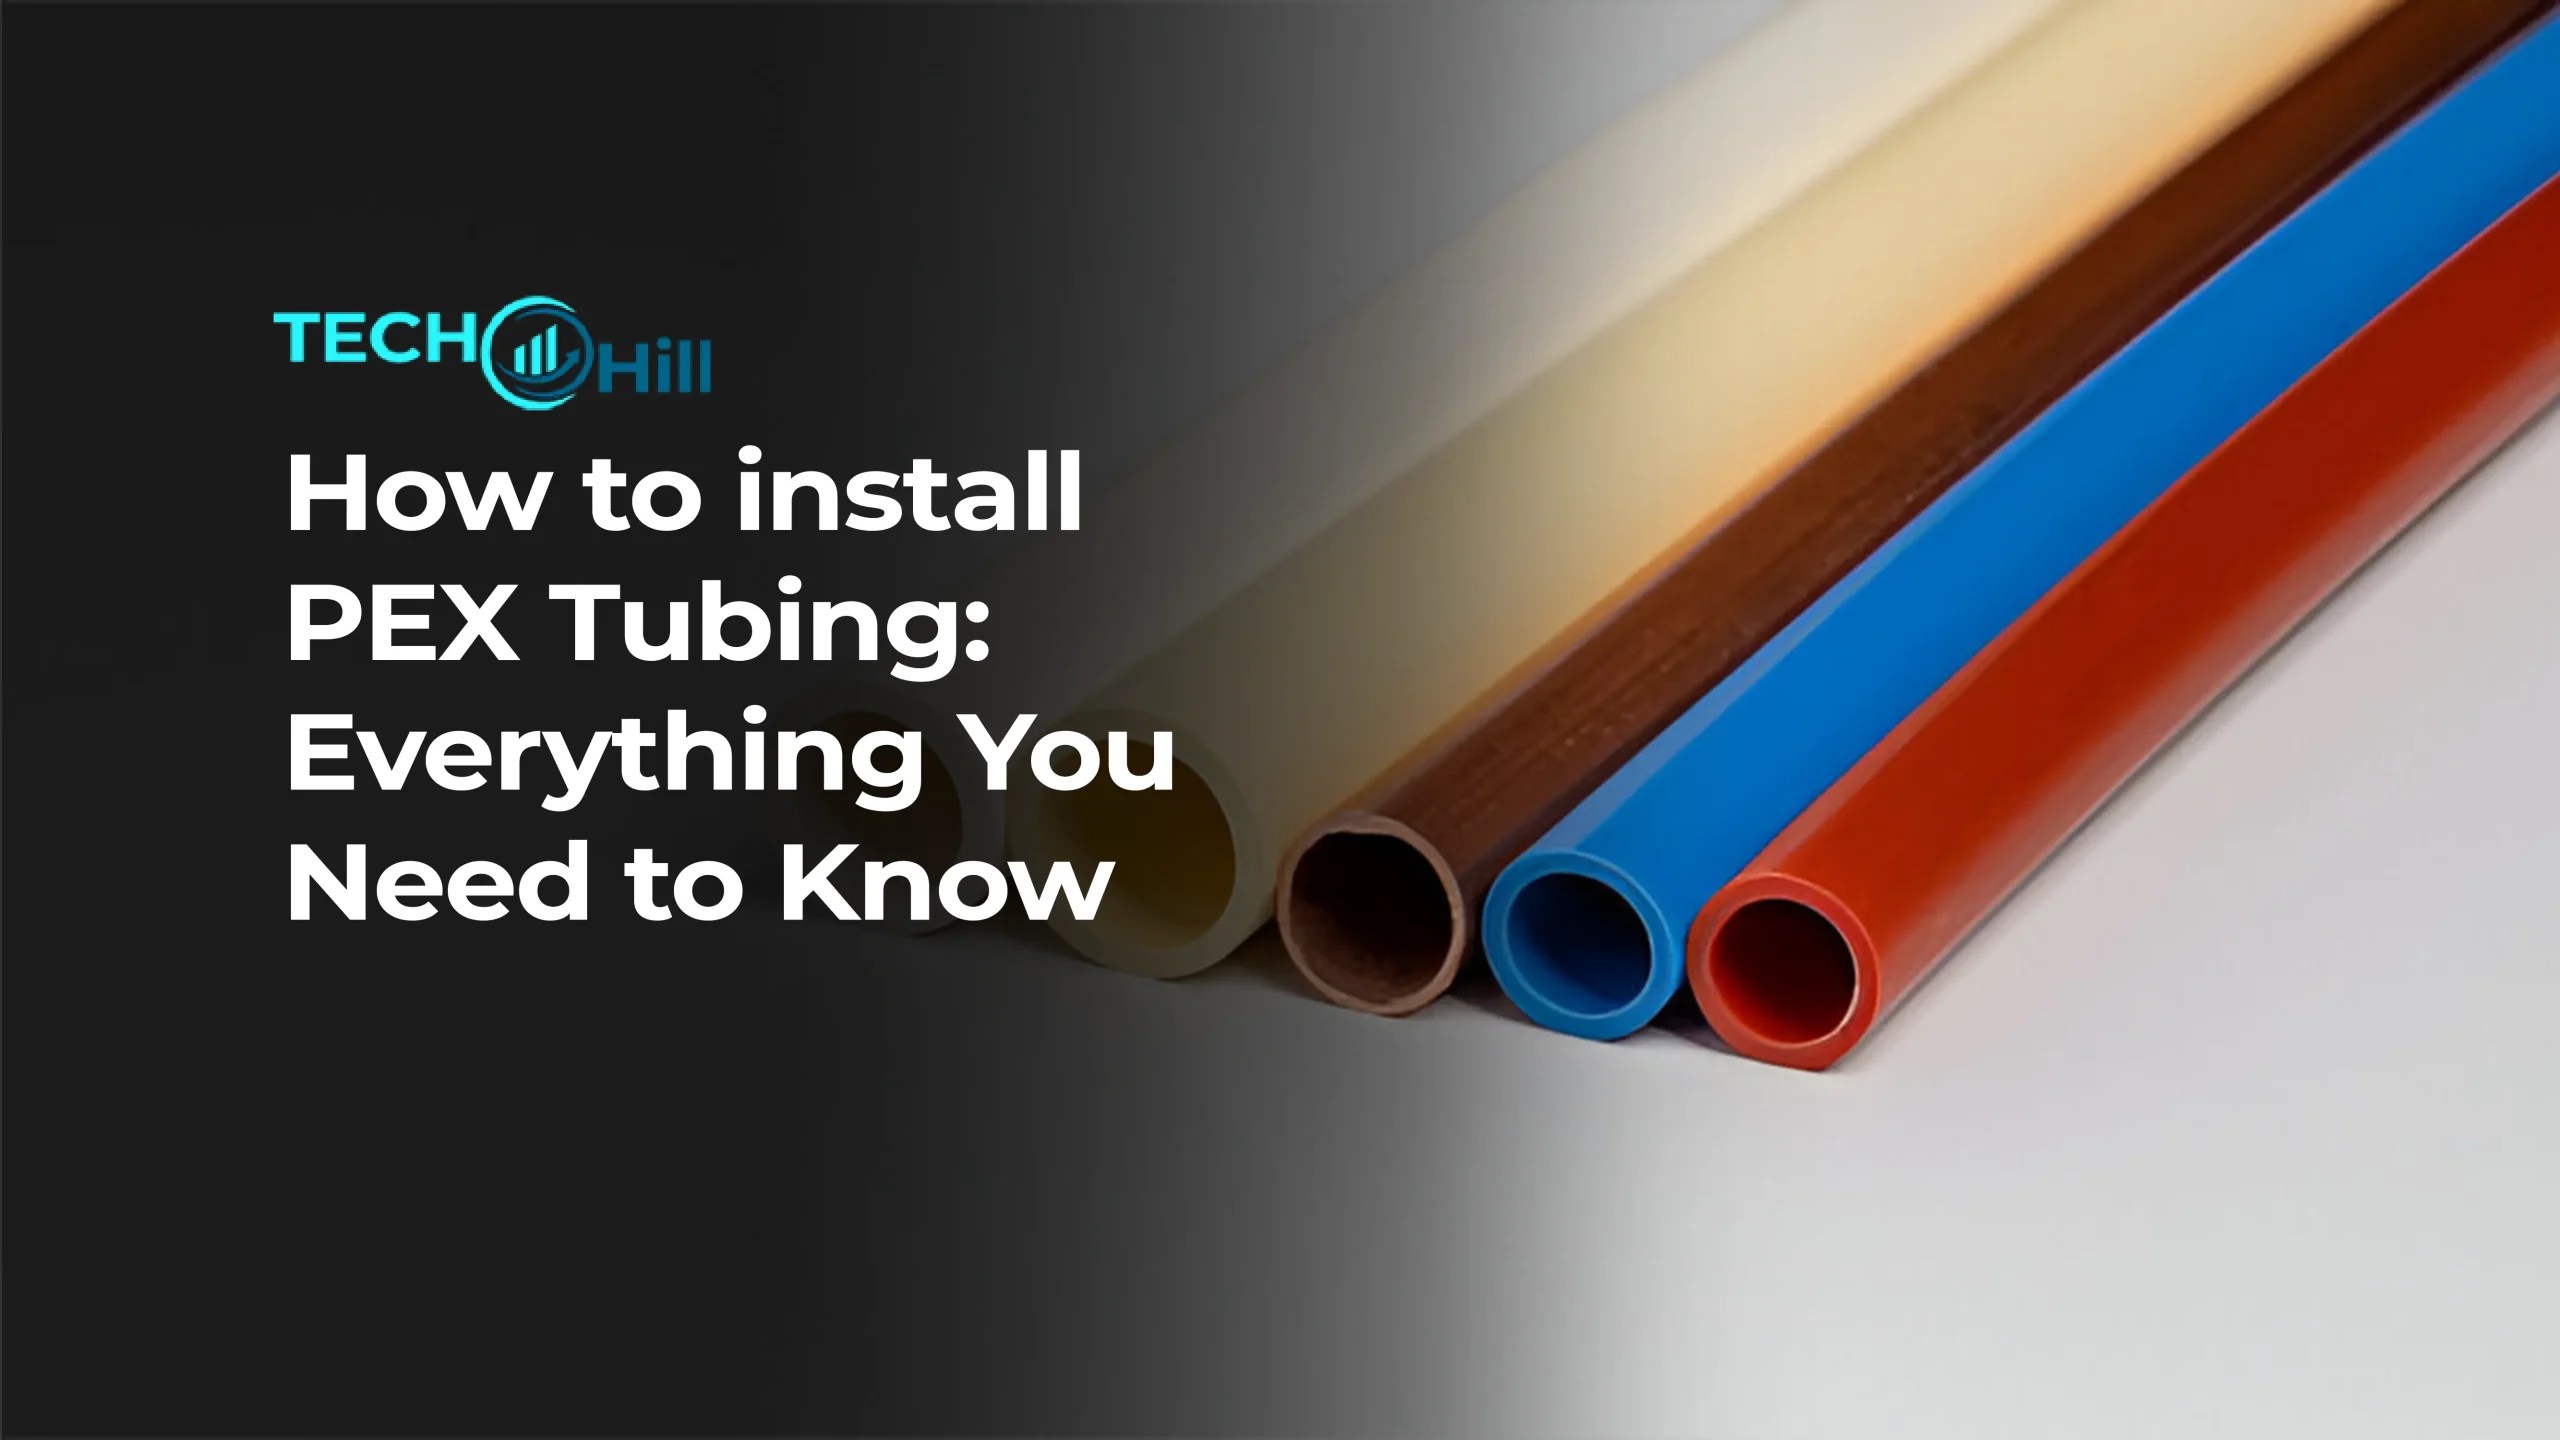
One of the standout features of PEX tubing is its ease of installation. It can bend around corners without the need for additional fittings, reducing the chances of leaks. PEX is also resistant to corrosion, scaling, and chlorine, which ensures a longer lifespan compared to metal pipes. Available in red, blue, and white colors to indicate hot, cold, or neutral lines, PEX tubing simplifies plumbing projects while maintaining efficiency and reliability.
Which is Better – PEX or Copper?
When it comes to plumbing systems, the debate between PEX and copper often boils down to durability, cost, and ease of installation. Both materials have their strengths and weaknesses, making the choice largely dependent on the specific needs of your project.
PEX tubing stands out for its affordability and flexibility. It’s significantly cheaper than copper, both in material costs and installation expenses. Because PEX is highly flexible, it can be bent around corners, reducing the need for additional fittings and minimizing the risk of leaks. Its resistance to freezing and corrosion also makes it ideal for areas with harsh climates or hard water. Furthermore, PEX is quieter than copper, meaning no more hearing the “water hammer” noise when faucets are turned off.
Copper, on the other hand, has been a reliable plumbing material for decades and is praised for its strength and long-term durability. It’s naturally resistant to UV rays, making it a better option for outdoor installations. Copper pipes are also non-toxic and eco-friendly, as they can be recycled. However, copper comes with higher costs for both materials and installation. It’s also prone to corrosion in acidic water conditions and can burst if water freezes inside.
For most modern homes, PEX tubing is often the better choice due to its cost-effectiveness, ease of use, and resistance to common plumbing challenges. Copper may still be a preferred option for certain projects, particularly those requiring outdoor plumbing or those in areas with high UV exposure. Ultimately, the decision depends on your budget, local water quality, and project requirements.
How to Install PEX Tubing (Quick Tips)
Installing PEX tubing is a straightforward process that saves time and effort compared to traditional plumbing materials. Here’s a step-by-step guide to help you handle the basics effectively.

Step 1: Slide Crimp Ring Onto PEX
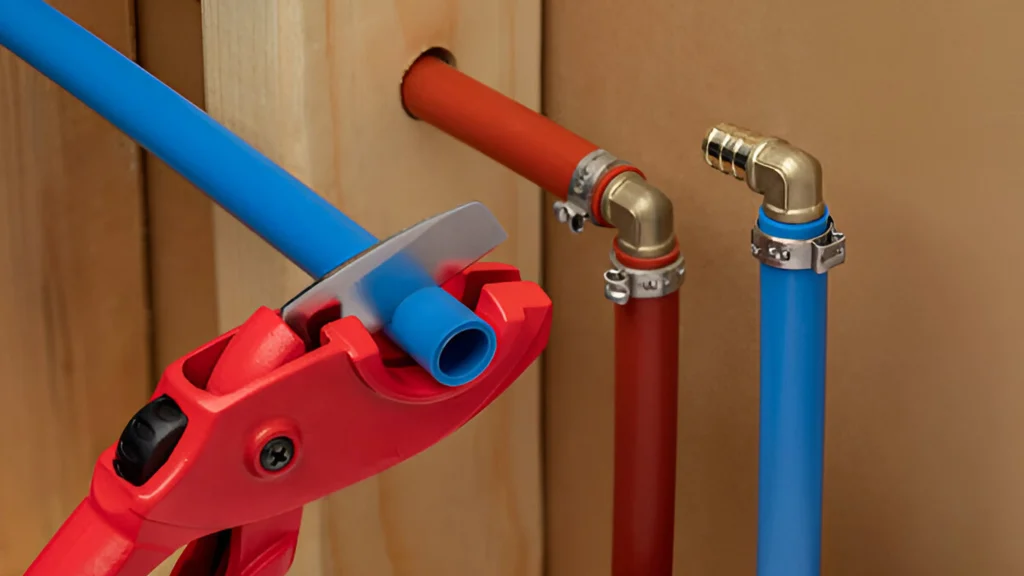
Start by sliding a crimp ring onto the end of the PEX tubing. The crimp ring should be positioned about an eighth of an inch from the end, leaving just enough space to fit the PEX fitting properly. Make sure the ring is evenly placed to ensure a secure connection later on. This step is crucial as misaligned crimp rings can lead to leaks or poor performance.
Step 2: Slide PEX Fitting Onto PEX
Once the crimp ring is in place, slide the PEX fitting into the tubing until it bottoms out. PEX fittings are available in various shapes, such as tees, elbows, or couplings, depending on your system’s requirements. Ensure the fitting fits snugly into the PEX tubing for a strong and reliable joint.
Step 3: Crimp Crimp Ring
Using a PEX crimping tool, compress the crimp ring around the PEX tubing and fitting. The crimping tool should be centered over the ring, and you’ll need to squeeze the handles firmly to secure the connection. Proper crimping is critical to creating a watertight seal, so double-check the tool’s alignment before crimping.
Step 4: Check Crimp Ring
After crimping, use a go/no-go gauge to check the crimp ring’s tightness. The gauge ensures that the ring is neither too tight nor too loose. A correct crimp will allow the “go” side of the gauge to fit while the “no-go” side does not. This quick check helps prevent future leaks and ensures a professional-grade installation.
Step 5: Fixing Messed Up Crimp Rings
If the crimp ring isn’t aligned correctly or fails the gauge test, you can fix it by cutting off the crimp ring and starting over. Cut off the PEX tubing end, slide on a new crimp ring, and repeat the process. While this might feel like a setback, taking the time to correct mistakes will save you from costly repairs down the line.
Step 6: Use SharkBite Fittings With PEX
For an even simpler alternative, consider using SharkBite fittings. These push-to-connect fittings eliminate the need for crimping tools and are ideal for quick repairs or installations. Simply push the PEX tubing into the fitting until it clicks into place. SharkBite fittings are versatile, reusable, and compatible with copper and PVC, making them a handy option for DIYers.
Conclusion
Installing PEX tubing is a game-changer for anyone looking to simplify their plumbing projects. With its flexibility, affordability, and resistance to common plumbing issues, PEX has become a preferred choice for modern plumbing systems. By following the step-by-step guide, you can ensure a smooth installation process, whether you’re using crimp rings for secure connections or SharkBite fittings for added convenience.
Remember, attention to detail is key—properly aligning fittings, checking crimp rings, and fixing any errors will save you time and potential headaches down the road. With a little patience and the right tools, even beginners can achieve professional-quality results. PEX tubing not only makes your plumbing system more efficient but also gives you the confidence to tackle future projects. So, roll up your sleeves, and get started on transforming your plumbing setup today!
